 Bitbucket
NerdVision supports connecting a repository from Bitbucket.
Find the URL
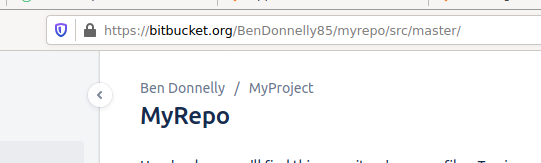
To connect a Bitbucket repository to NerdVision you simply need to provide the URL to the repository. This can be any of the following urls:
- The URL in the browser when on the project home page
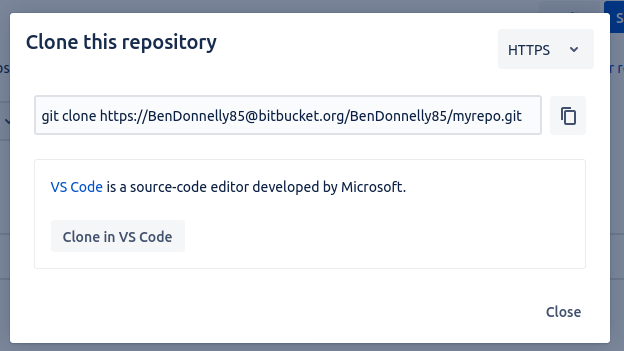
- Either HTTPS or SSH URL when using git clone
Authentication
When connecting to a public repository there is no need to add authentication to NerdVision to access the repository. If using a private repository then NerdVision will require the correct authentication to access the repository.
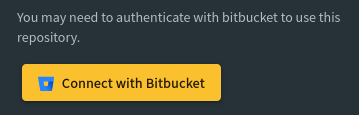
When NerdVision needs authentication a button will appear to ask you to connect the provider.
To manage the connections to the providers see user profile
Connecting a Bitbucket Server instance
To start using Bitbucket Server repositories, NerdVision needs to be made aware of your Bitbucket instance. Fortunately, this is a simple process!
- Grab the URL to the homepage of your Bitbucket Server instance (e.g. for bitbucket.example.com, the URL would be
https://bitbucket.example.com) - Go to the NerdVision group settings page
- Select the 'Custom Providers' tab and click 'Create Provider'
- Switch to the Bitbucket tab and enter the URL we copied in step 1, and the dialog should confirm that it can connect
- Follow the steps below to set up authentication
Adding OAuth to your Bitbucket Server instance
Bitbucket Server uses a slightly different authentication process to the other providers which requires a little more setup:
- Go to your Application Links configuration page in Bitbucket (the NerdVision app will give you a link to this)
- In the input box next to 'Create new link', type:
https://app.nerd.vision/and then click 'Create new link' - On the window that appears, click 'Continue' (you can safely ignore the message that says "No response was received")
- You are now given a dialog with some input boxes, use the information that the NerdVision app has given you to fill them out
- Click 'Continue' in Bitbucket then click the pencil to edit the application we just created
- In the 'Outgoing Authentication' tab, scroll down to the bottom and click 'Delete'. NerdVision does not require this feature
- Switch the 'Incoming Authentication' tab
- In NerdVision click 'Next' to go to the 3rd step
- Use the information given in this step to fill out the
Incoming Authenticationtab in Bitbucket - Click 'Save' in Bitbucket first
- Once Bitbucket has saved the configuration, click 'Save and test' in NerdVision
- After a few seconds the 'Connect to bitbucket' button will appear, you can click this to connect your Bitbucket user to your NerdVision user and confirm that everything is set up correctly
- You will now be able to create a repository like normal
Disconnect NerdVision
To disconnect NerdVision from Bitbucket you can view the connected apps and click 'revoke' for nerd.vision.
